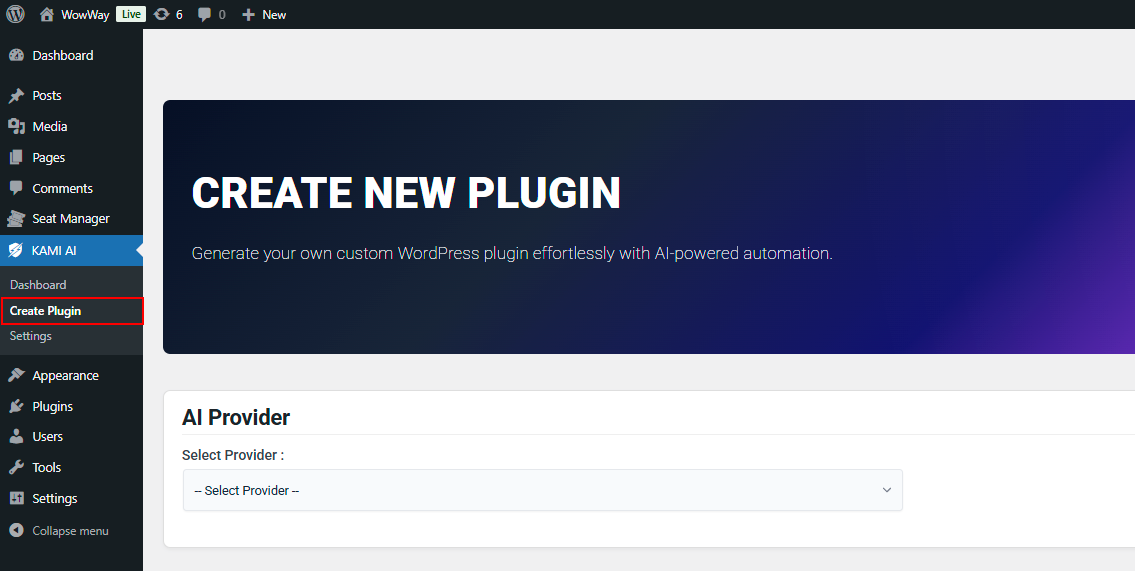
Using KAMI
This guide explains how to properly fill in the basic information required to create a plugin with Kami-developer.
Prerequisites
Before you begin, make sure you have :
- Kami-developer installed on your Wordpress website (see Installation).
- You have successfully completed the plugin configuration (see Configuration).
Providers
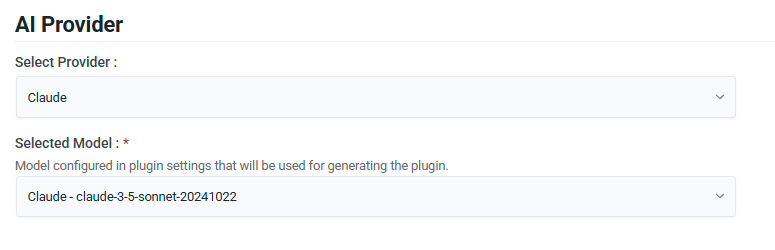
- Select your AI provider (Only configured providers appear in the list).
- Your preferred AI model is automatically selected.
Informations
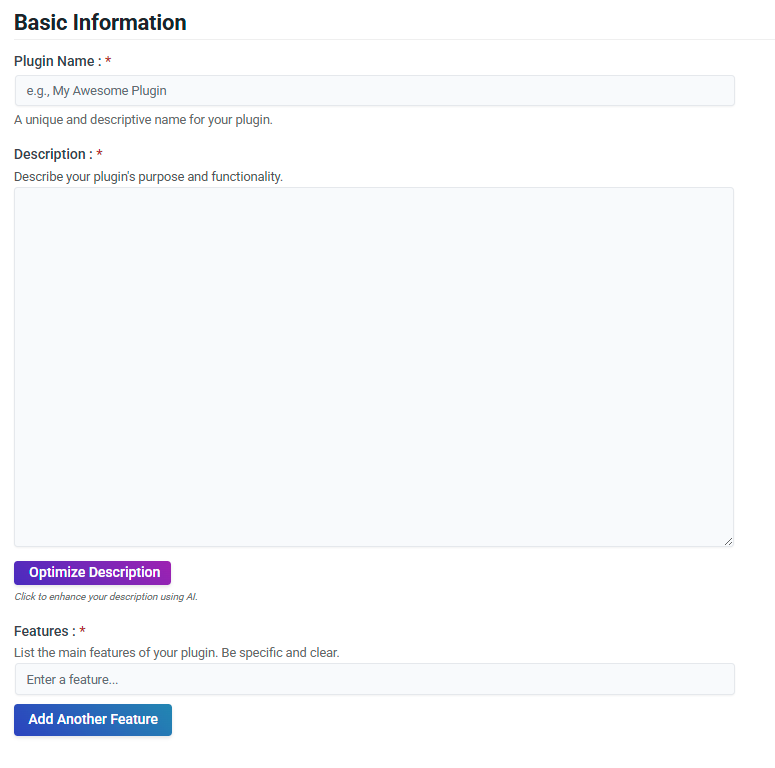
Enter the Plugin Name
- In the Plugin Name field, enter a unique and descriptive name for your plugin.
- This field is mandatory (*).
Add a Description
- In the Description box, write a brief explanation of your plugin’s purpose and key functionalities.
- Be clear and concise so users can easily understand its use.
- This field is mandatory (*).
Optimize (Optional)
- If you want to enhance your description automatically, click the Optimize Description button.
- The AI will generate an improved version of your text.
- Keep only the optimized description
- Copy all the Key Features generated by the AI in the Features box
Add Features
- In the Features section, enter a key feature of your plugin in the designated field.
- Click Add Another Feature to add multiple features.
- This field is mandatory (*).
Advanced
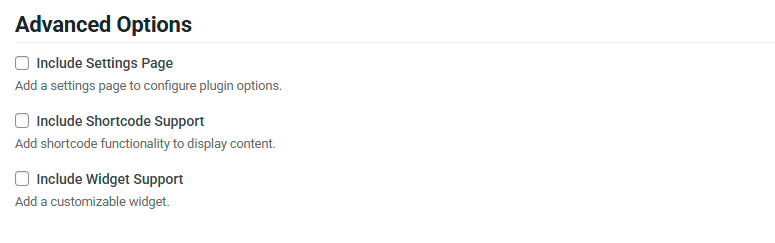
Check one or more options if you want to add additional information to your plugin.
Finalization
Once all the information is completed, ensure it is accurate before proceeding with the plugin creation.
Next:
- Click on Generate Plugin button to generate the plugin files.
- Waiting for generating plugin files...
- Click on Download button to get the plugin .zip file into the folder of KAMI.
- Click on Install button to install the plugin (you are automatically redirected to the plugin list).
- Finally, activate the plugin.
Congratulation!
You have successfully created your first plugin, it's time to use it!
On This Page